Your First Photo Library
Overview
After activation, the fastest way to see LunaFinder in action is to open one folder that contains your photos. LunaFinder will index that folder so you can browse, search, and tag images efficiently.
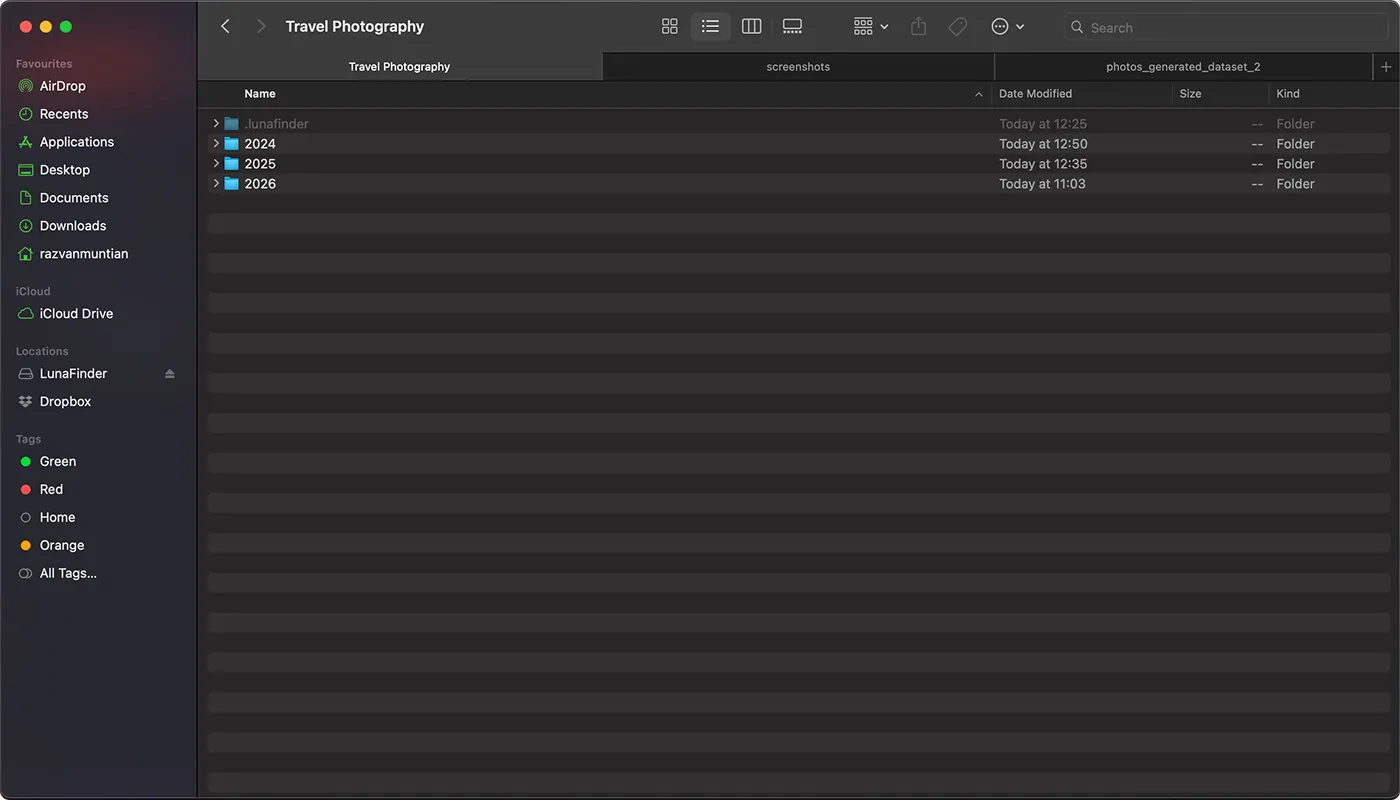
Open a folder
Before any folder is selected, the center area shows a message asking you to select a folder to browse images and manage metadata.
- Click Open Folder in the top-left area of the window.
- In the macOS folder picker, choose the root folder you want to work with (for example
Photos 2024orClient Shoots). - Click Open or Select.
LunaFinder treats this folder as your home library for the session. You can change it anytime by opening a different folder.
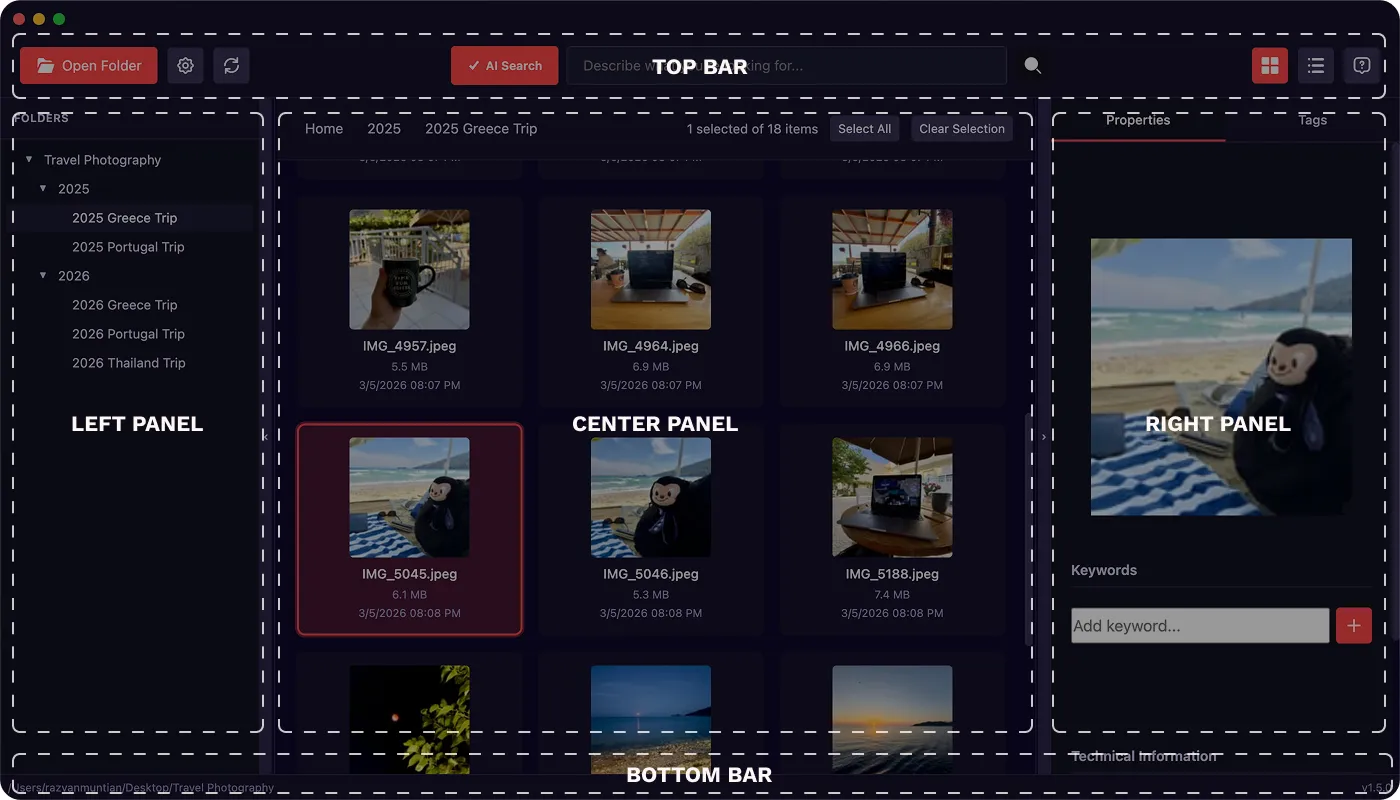
The main window layout
After you open a folder, you will see several areas working together:
| Area | Purpose |
|---|---|
| Top bar | Open folder, settings, refresh, search, grid/list view, help |
| Left panel | Folder tree — navigate subfolders |
| Center | Your photos and folders in grid or list view |
| Right panel | Properties (details and keywords for selection) and Tags (browse all tags in the library) |
| Bottom bar | Path of your opened library and app version |
You can resize the left and right panels by dragging the dividers, and collapse either side with the small arrow buttons on the panel edges for more space for thumbnails.
First-time indexing
When you open a folder for the first time (or a very large one), LunaFinder prepares your library in the background. You may see progress notifications such as:
- Initializing your project — one-time setup for this library (can take around twenty seconds or more on large folders)
- Indexing files — building a catalog so search and browsing stay fast
- Generating thumbnails — creating small previews for the grid
You can keep working while they run. Some views may fill in gradually as thumbnails appear.
Supported photo types
LunaFinder works with common photo formats, including:
- JPEG (
.jpg,.jpeg) - PNG
- TIFF
A simple first workflow
Try this five-minute flow:
- Open Folder → choose a folder with a few dozen photos.
- Click one photo in the center — the right Properties panel shows keywords and metadata.
- Add a keyword such as
favoritein the Keywords section. - Switch to the Tags tab on the right — your new tag should appear with a count.
- Click the tag to filter photos that have it.
- Press Space with one image selected to open the photo viewer.
Hidden library data
LunaFinder may create a hidden folder inside your opened library to store cache, thumbnails, logs, and AI search data. This folder is for the app’s performance and is not shown as regular photos in your grid. You do not need to open or edit it.
Tips for choosing which folder to open
- Prefer a single top-level folder you use often (one trip, one client, one archive year).
- External drives work the same way as internal storage—as long as the drive is connected and macOS can read it.
- If you use Dropbox or Google Drive, open the synced folder on your Mac so LunaFinder indexes the local copy.
Next steps
- Opening a photo folder — more detail on library choice and refresh
- Browsing folders and files — navigation with tree and breadcrumbs
- Adding and removing keywords — start tagging